Why Hire a Room Addition Contractor Instead of DIY
Adding a new room to your home is an exciting project that can increase your living space and boost your...
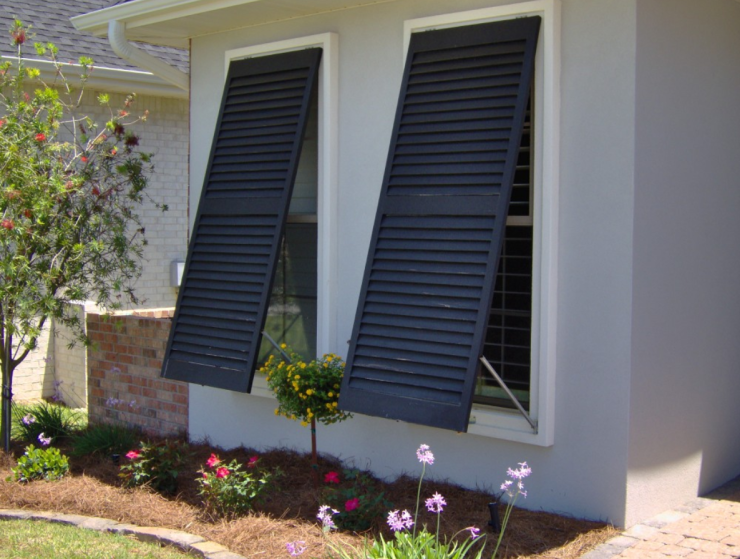
Living in a hurricane-prone area means storm preparation isn’t optional—it’s essential. While high-end storm shutters like motorized roll-downs or steel panels offer solid protection, they can be pricey. Thankfully, there’s a simple and affordable alternative: DIY plywood hurricane shutters.
With the right tools and materials, you can build and install sturdy window protection in a single day. Here’s how to do it.
Bonus Tip: Want a full storm-prep checklist?
Check out our guide: How to Prepare Your Home for a Hurricane
📏 Accurate measurements are critical.
The Federal Alliance for Safe Homes recommends your plywood shutters extend at least 4 inches beyond your window frame on all sides. Use a tape measure to carefully record the height and width of each window, adding 8 inches to both dimensions to cover the overlap.
Here’s what you’ll need to make your shutters:
For Wood-Framed Homes:
• 5/8-inch thick CDX plywood (one sheet per window, cut to size)
• 2½-inch Phillips wood screws
• Tape measure
• Power drill with Phillips driver bit
• 5/16-inch drill bit
For Concrete Block Homes:
• 5/8-inch thick CDX plywood (cut to size)
• 5/16 x 3-inch hanger bolts (10 per window)
• 5/16-inch wing nuts (10 per window)
• Washers (10 per window)
• Phillips concrete screws
• Concrete drill bit
💡 Most home improvement stores will cut your plywood to size—just bring your measurements.
Installation differs depending on your home's construction type, but both methods are DIY-friendly with a bit of elbow grease.
1. Locate the framing studs around your windows from the inside using a stud finder or by tapping along the wall.
2. Measure from the glass edge to each stud—not from the window frame.
3. Transfer those measurements to the outside of your house.
4. With someone holding the plywood in place, drive screws through the plywood and into the studs all around the window. Ensure screws are securely anchored.
1. Drill 10 holes in the wall around each window, spaced evenly and about 3 inches from the edge, using a concrete bit.
2. Insert hanger bolts into the holes.
3. Mark and drill matching 5/16-inch holes into the plywood.
4. Line up the plywood so the hanger bolts pass through.
5. Secure with washers and wing nuts on each bolt.
You’re Done!
With your DIY hurricane shutters installed, your windows are now reinforced and storm-ready. They might not have the sleek look of commercial options, but when it comes to protecting your home, they’ll get the job done.
After the Storm: What’s Next?
Once the storm has passed, there’s still work to do. Don’t miss our expert guides on post-storm cleanup:
• Essential Guide to Planning for Severe Weather
• How to Dispose of Yard Waste
• Dumpsters for Storm Debris Removal
🛠️ Taking a DIY approach to hurricane prep doesn’t mean sacrificing safety. With just a few materials and a little time, you can shield your home from serious storm damage—without draining your wallet.
Living in a hurricane-prone area means storm preparation isn’t optional—it’s essential. While high-end storm shutters like motorized roll-downs or steel panels offer solid protection, they can be pricey. Thankfully, there’s a simple and affordable alternative: DIY plywood hurricane shutters.